
Re-enacting the 12th-13th centuries means you at some point will cross datelines with the 300 year reign of the Plantagenet kings. In 1128 the count of Anjou married Matilda, daughter of the king. This would go on to cause a whole host of problems known as ‘The anarchy’ where she, her new Plantagenet husband and son with the most royal sounding name fought for the crown against her brother Stephen de Blois. While the first Plantagenet and his wife never took the crown, their son would eventually in 1154. Ushering in a new era of peace and prosperity petty squabbles between lords in England and France.
But all that is rather boring, let’s look at his cool hat.
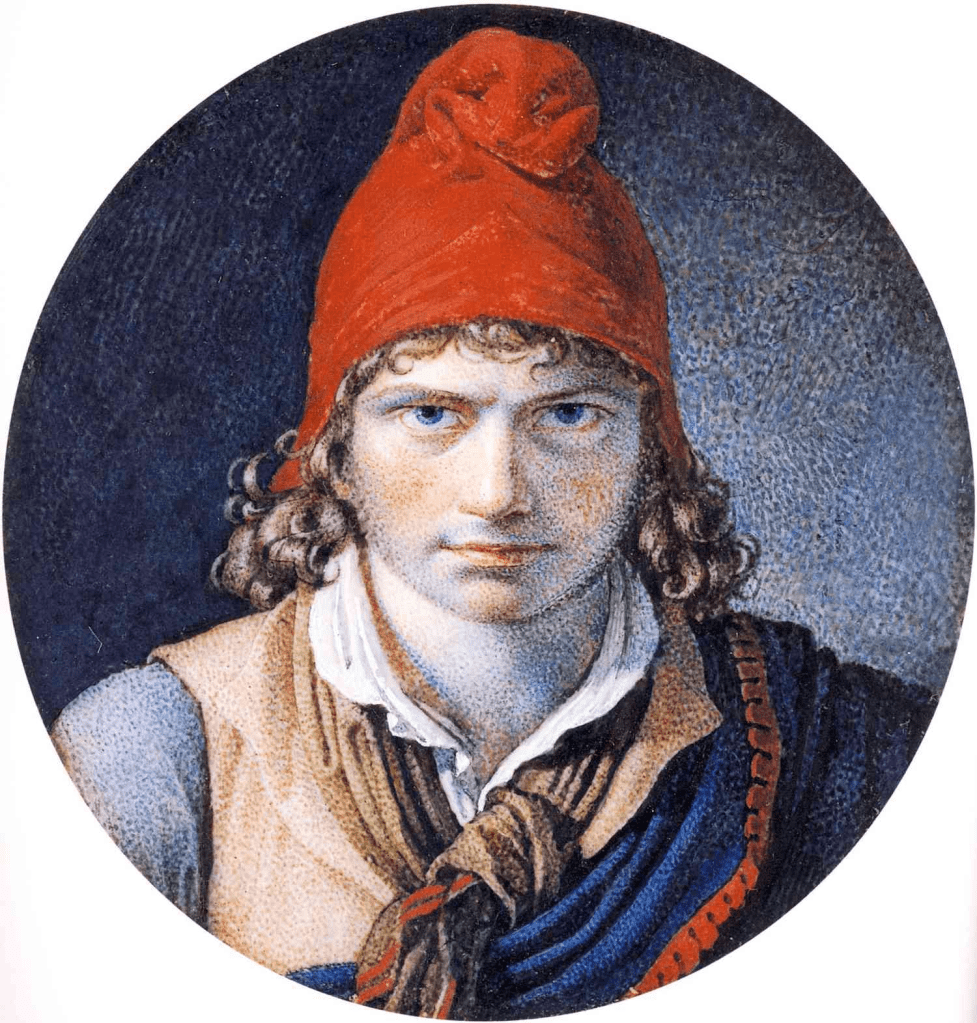
As he was never king, but functionally held that position as disputed-heir-to-the-throne-consort a highly detailed effigy is above his tomb in Le Mans. Showing him fully decked out in an embroidered tunic, court bliaut, cloak of vair and a beautiful sword and shield. And to top it all off, on top of his apparently beautiful head is a big silly Phrygian hat.

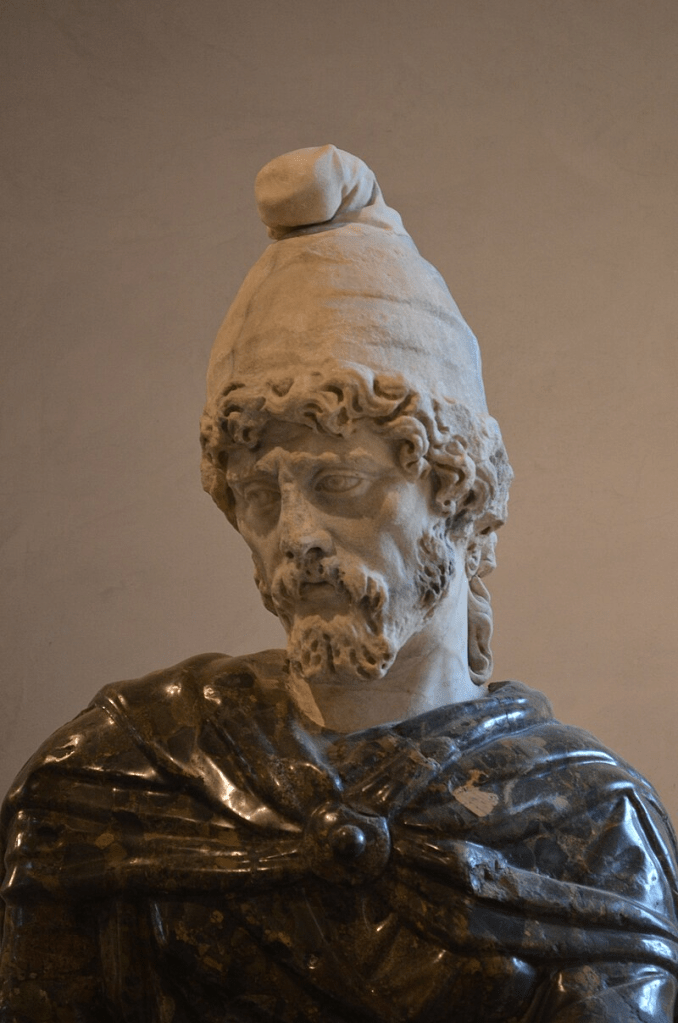
Phrygian hats are a very particular look, which falls in and out of fashion very rapidly, cropping up occasionally though out my dateline of choice. They are a conical hat which falls forward to make a droopy point. Most commonly associated with the French revolutionaries but appearing in Roman sculpture also. Now, I’m not going to comment on why this hat style pops up frequently though out history. It could be because its the simplest hat which can flaunt extra fabric while still being practical, or it could be for more Freudian reasons.
Nevertheless, Geoff Plantagenet wears one, and one with a delightful lion on it also. I found this hat while ruminating on my next embroidery project, wanting to try my hand at some large laid and couched work.
I first separated out his hat, getting the vague shape of it down with the help of a friend who also made a blue Phrygian. His trial and error on the shape of the two panels helped figure out exactly how much curve should be put to the cap for the perfect little flick at the top.
From there I started to work on the embroidery stencil. The effigy is quite small, and pictures on the internet lacking in pixels. I soldiered on however, cutting out just the hat, increasing the contrast to get a better look at the leopard’s outlines. This left me with very little to work on, the tiny scale of the hat leopard gave only a rough shape. Looking at the leopards on the shield I could match them up to a much more detailed image from a bestiary. The bestiary image is dated nearly the same as the effigy, and has a similar ‘growling’ mouth and rounded head.

All these parts allowed me to take a vague outline like this.
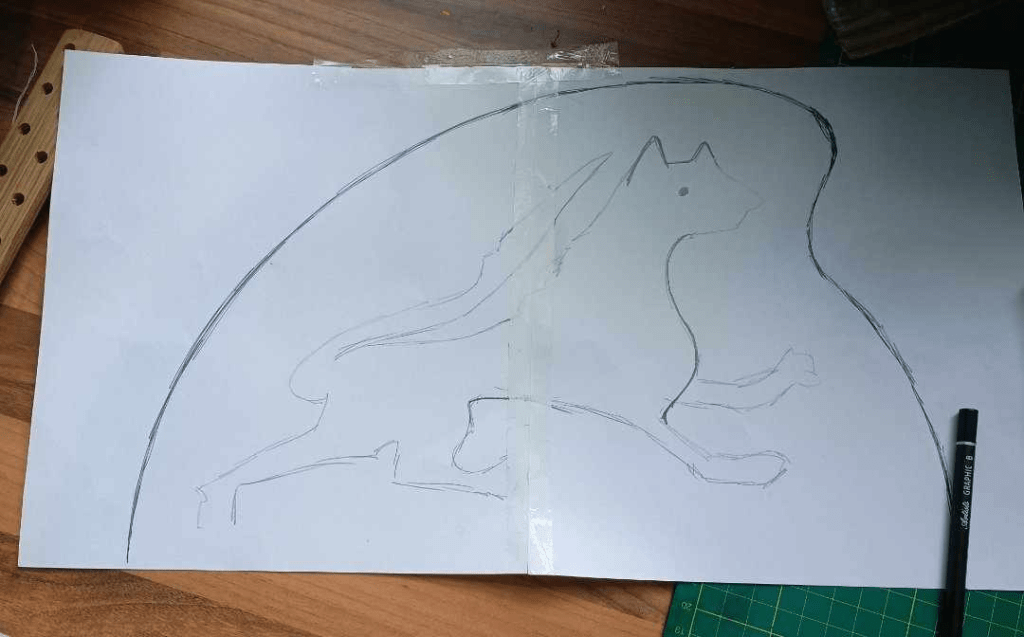
Into a detailed embroidery outline like this.

This was then cut out, allowing me to use it like a stencil onto my wool. Which was a lovely bright blue woven yet heavily felted fabric.
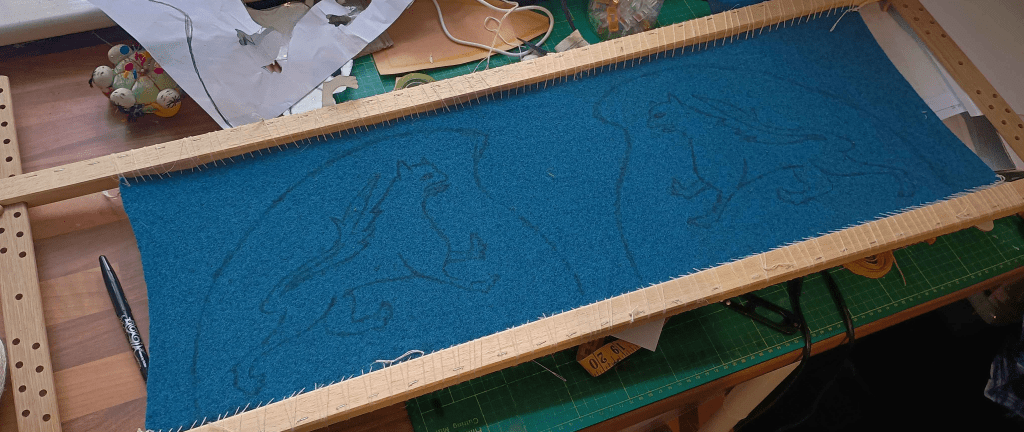
From there I just had to dedicate several hours whittling away on the couched embroidery work. Running a very simple ‘bucket fill’ lain couching accompanied with a stem stitch border like the bayeux.
I did this work over reenactment weekends, lunches off work and other random spare time. Here’s one particularly delightful picture of me all ‘nunned up’ at Chalke Valley 2024 chipping away at this project.

After not much time at all, I have two perfect 12th century leopards. Complete with grimace and spiky tails.

While my leopards are red, it’s almost certain the ones on the effigy would be gold. This is because Mr. Plantagenet was granted the heraldry of “gold lions on a blue field”. I however elected to make my lions red; as this is both the colour of my groups logo, and I had 200meters of red crewel wool hanging around.
Once off the frame I cut out the shape of the Phrygian hat, leaving plenty of room for a seam allowance to be felled inside. In order to protect the backside of the embroidery (and add some extra flair) I cut out a silk layer to the same shape to serve as the lining.
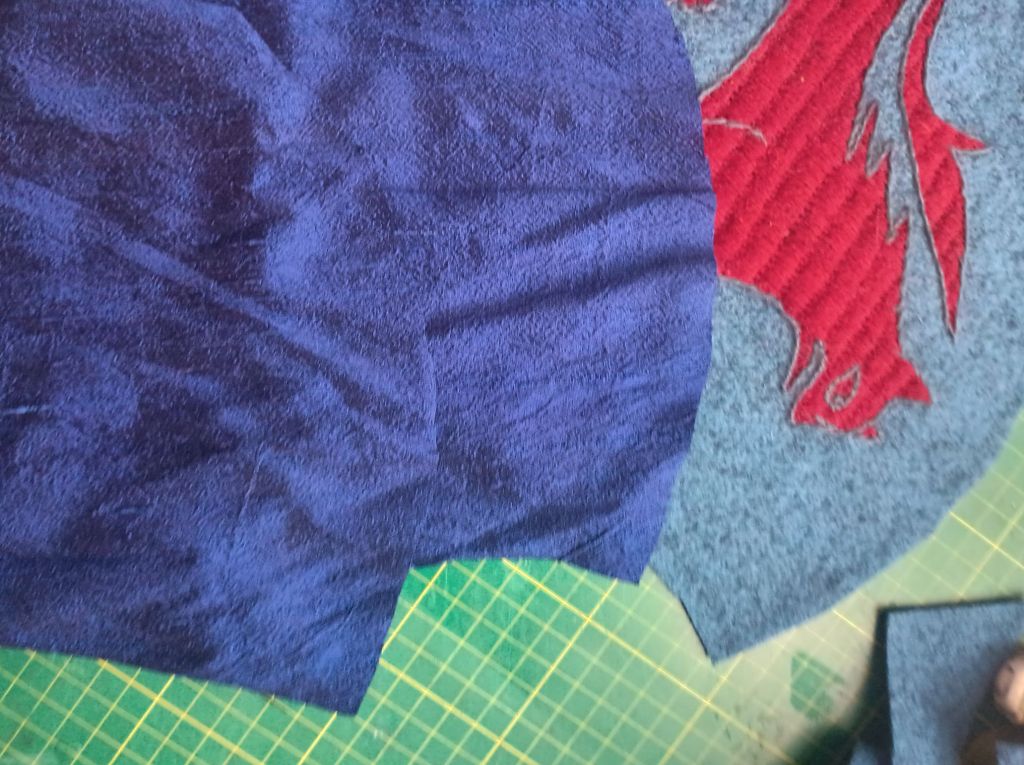
From there I sewed through all four layers, a very simple running stitch. Then trimmed all but one silk layer small to fold and fell the seam.
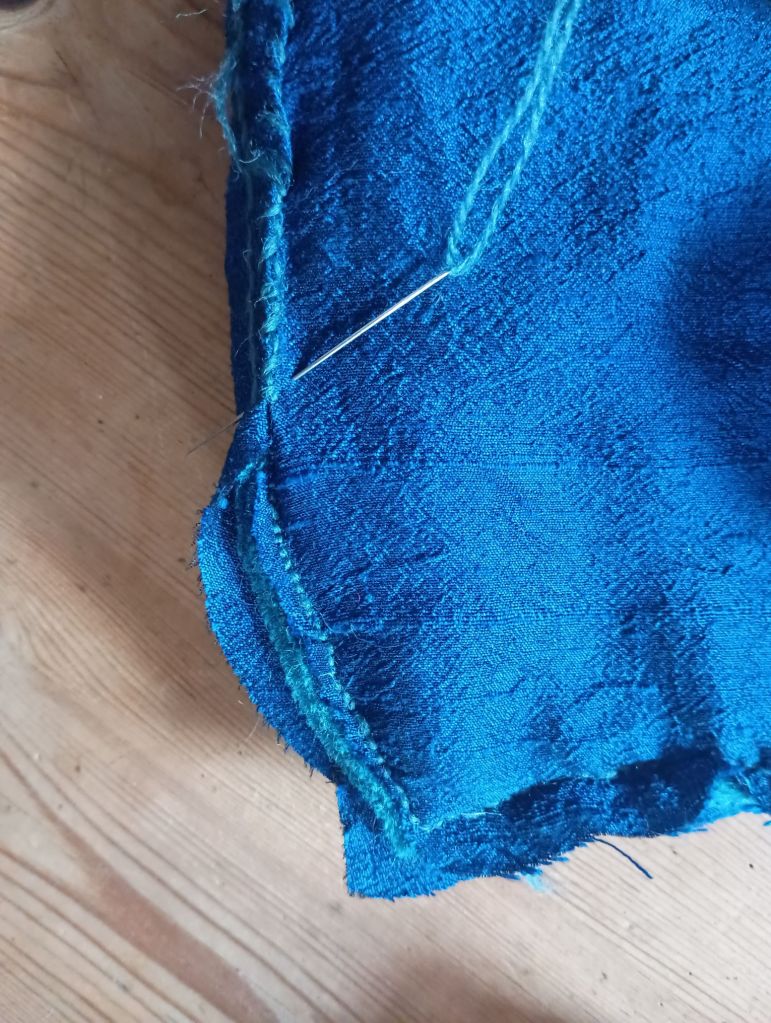
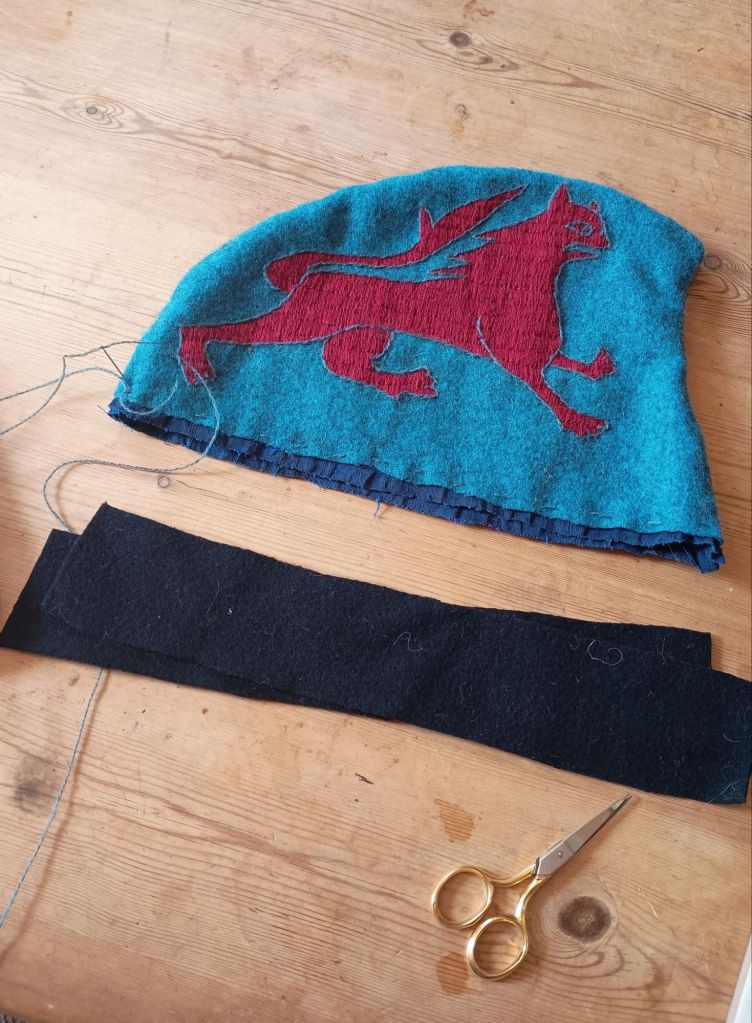
And then I could flip it right sides out and marvel at my incredibly goofy new hat. But it was missing something, a finishing band along the bottom. From the effigy it’s a darker colour, possibly green or even black, to hand I had some good dark blue that I cut two strips from. I sewed these strips together then folded the whole band in half to “bite” the bottom hem.
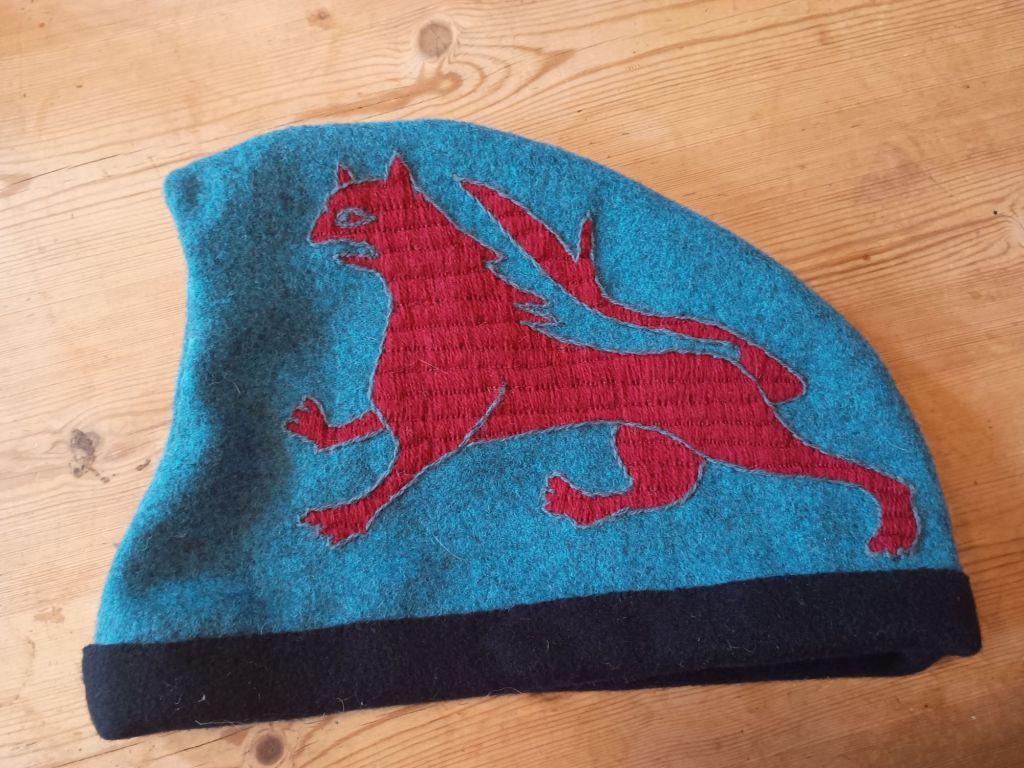
This was affixed with a tiny white stitch in a matching crewel thread. And with that my new hat was complete! Not too shabby for my first foray into lain work I don’t think.

Leave a comment