When commissioning a hat or helmet, or indeed anything it’s always best for it to be repeatedly fitted to the wearer. Unfortunately this isn’t always convenient, and in this case a head cast can be incredibly useful.
Materials and Prep
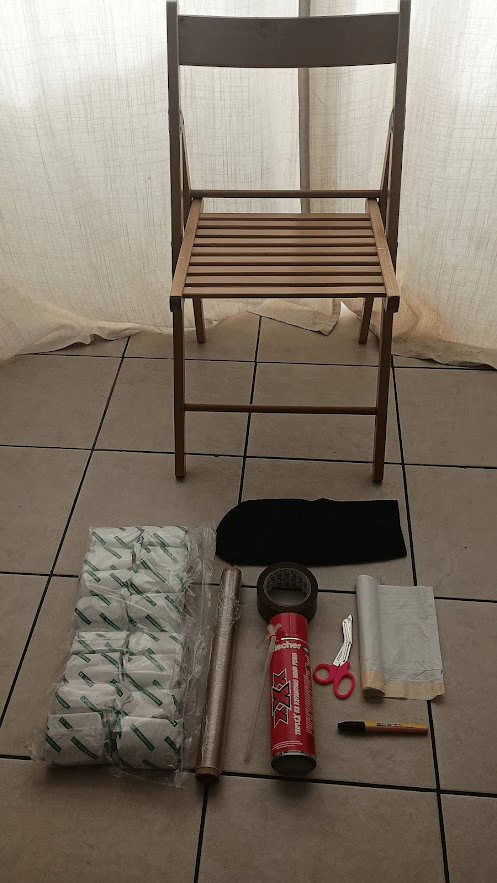
- Chair
- Plaster Bandage (Modroc)
- Clingfilm/Saranwrap
- Balaclava
- Wide tape, ie. parcel tape
- Expanding foam
- Medical/Safety Scissors
- Bin bags
- Marker
To start with assemble your materials. The only things not pictured above are a bowl of water for the plaster bandage to be dipped in, and the subject to be cast.
Your subject should wear ‘dirty work’ clothing, the plaster will wash off most cottons without incident but can sometimes stain light colours a bit depending on brand.
And I would advise doing this outside if possible. While the plaster can be cleaned off smooth surfaces with just water the process is very messy and you’re best off not getting plaster all over your soft furnishings. In the absence of a garden, bathrooms and kitchens work best.

Before you start anything, cut up your bandages. For an average size man with a small head we used about 5 rolls of modroc. If you have not used plaster bandage before I would recommend having a watch of this video in which the lady explains nicely the process of dipping and layering for strength.
Process
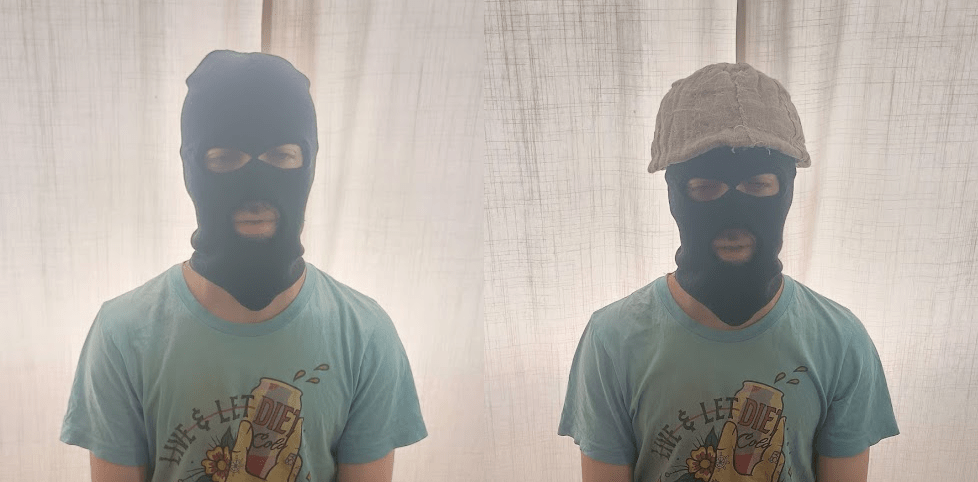
Firstly sit your subject down. Get them to put on the balaclava and tuck any beard or long hair into this or the shirt collar. If there’s a lot of hair try to have this in a position it would be when wearing what you’re being cast for. IE. if you always wear a braid under a helmet, wear the braid when casting.
If casting with a liner, put this on too.
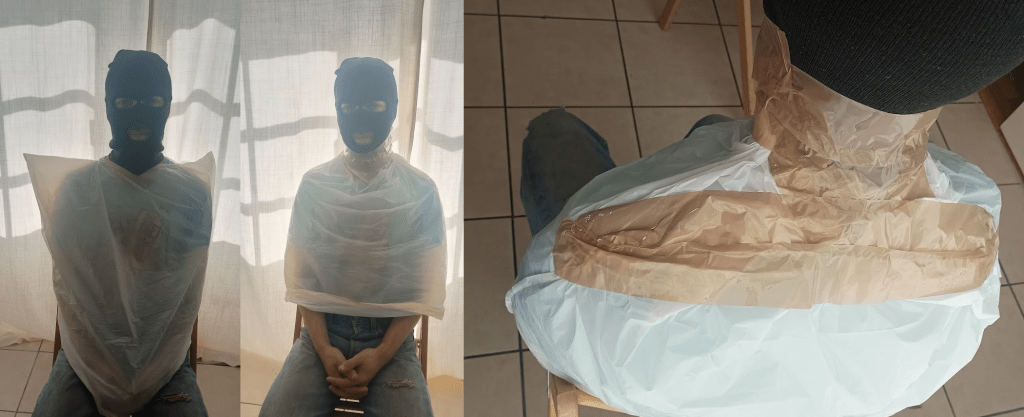
Next snip a hole in a bin bag and slide this over your subject’s shoulders. Take the parcel tape and attach the bag to the neck of the balaclava with this tape, making sure to go as tight as you can (without strangling your subject of course). At this stage also tape up the excess corners of the bin bag.
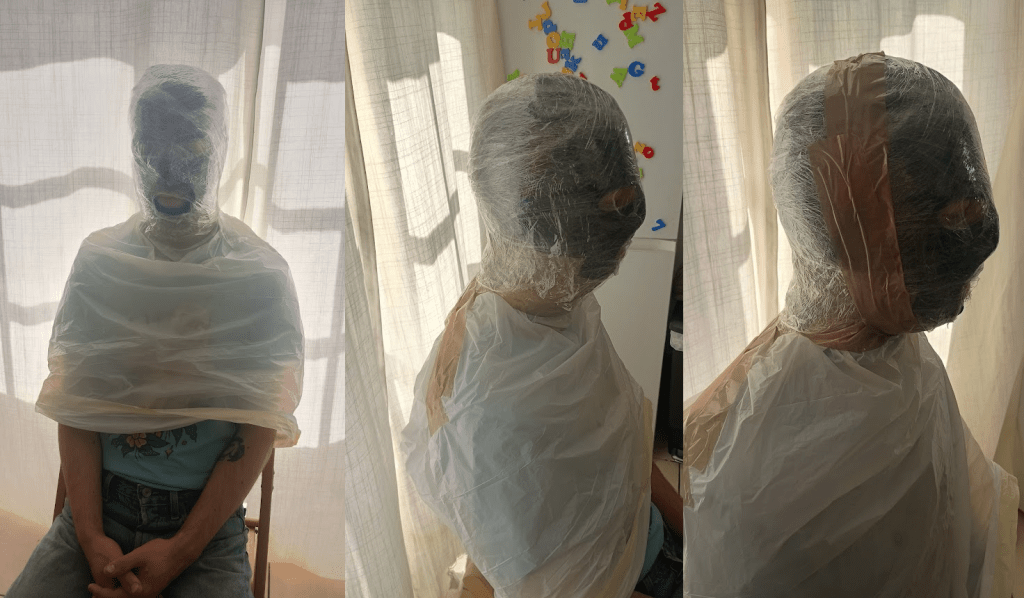
Next take your cling film and wrap this around the subjects head. It’s easiest here to wrap the head completely, and then snip a mouth hole for breathing. Once wrapped, take some more tape and tape under the chin where a strap will sit.
At this stage the subject is as wrapped up as they’ll be when plastered, minus the darkness of plaster bandage over the eyes. If this is the first time taking a head cast I would advise sitting with this for a moment to assure you wont freak out later when materials will be wasted.
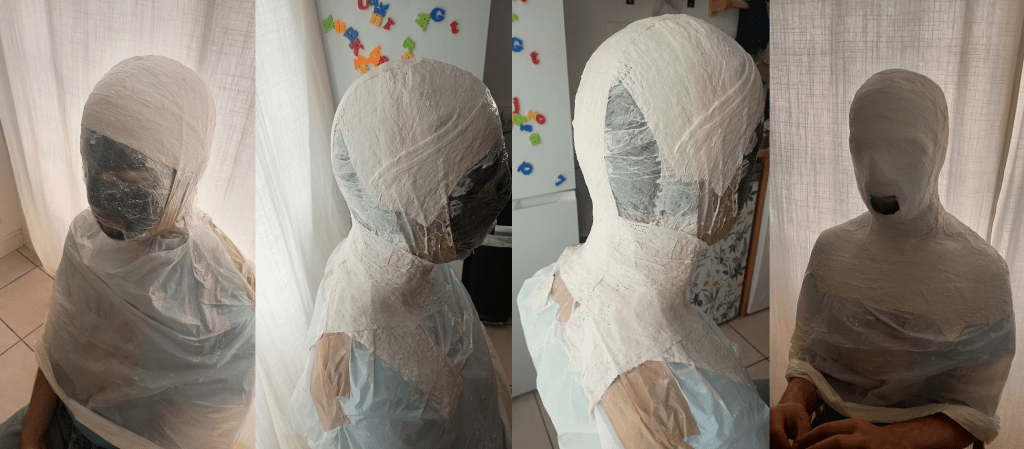
Start the plastering process on the horizontal parts of the subject, top of the head and shoulders. This will allow these to sit and cure first before we attach them together with verticals up the neck and over the face. Completely bandage the head, neck and shoulders with alternating angles of bandage. the idea is to have about 3 layers deep on all areas as this will be sufficiently strong without adding too much bulk.
Once they’re fully bandaged in, you will need to wait at least 5 minutes for the cast to semi-cure. The longer you can wait the better, we left it for about 8 minutes before cutting off.
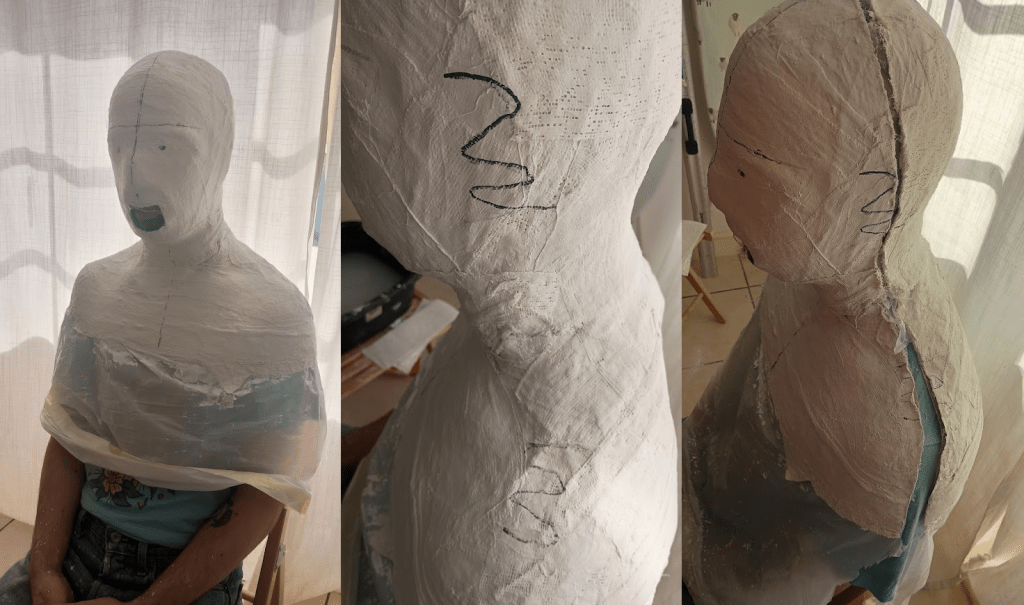
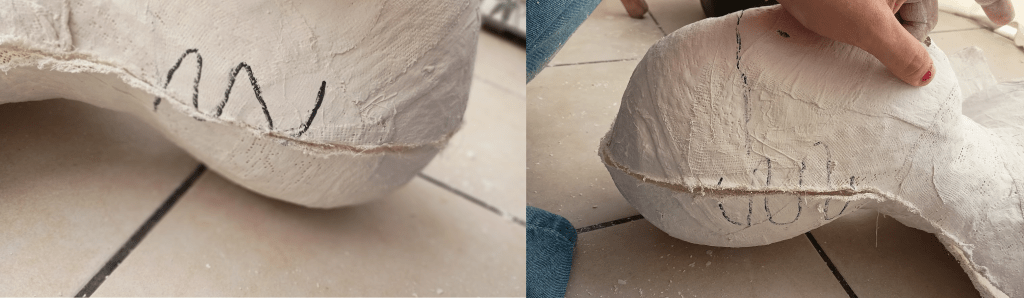
Once the cast is cured, mark up the model as best you can with eyes, ears centre lines and brow line. Then, where you are going to cut, make some irregular ‘wiggles’ on the cast in pen. These will be our reference points for putting the cast back together once off the subject.
Once marked up, take the scissors and cut the cast along the shoulders and top of the head. The medical scissors will have a small blocking portion on the end to avoid snipping the subject. Keep to the outside of the balaclava when cutting to avoid any surprise haircuts.

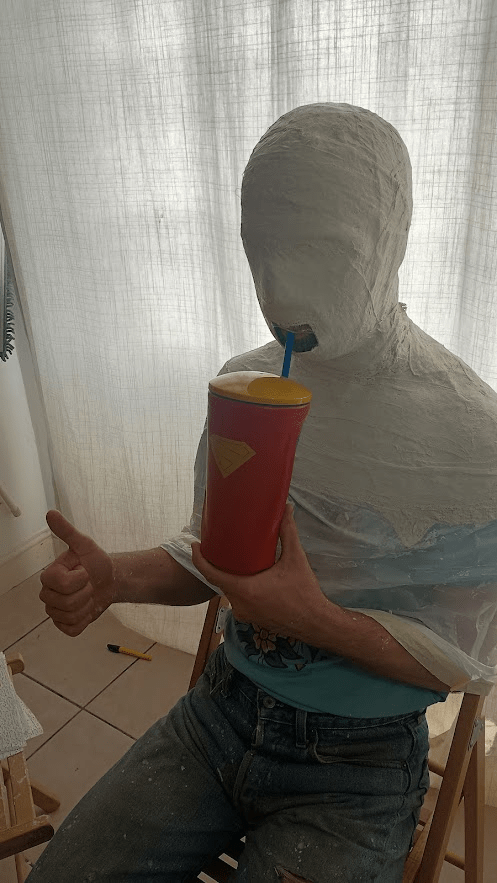
Once it’s cut in half, you can pull the cast off the front and back of the subject. It will likely still be a bit floppy at this stage, this is fine and will allow us to piece it back together easier. Send your subject off to go discard of plaster covered clothes and celebrate their survival of the process.

Using our squiggles from earlier, match up the cast front and back to the correct points. Then take some more plaster bandage and stick the two halves back together. You can layer up bandage on the inside at this point too, but I’d advise at least one layer on the outside for neatness. At this point also plaster over the mouth hole left when casting.
Once fully assembled again, trim the bottom of the cast so it sits nicely.

Now the cast needs to fully dry for at least 24 hours. The plaster doesn’t cure via a chemical process, but by drying out so the absolute best place to do this is in a drafty garden, but any room with a window open will work.
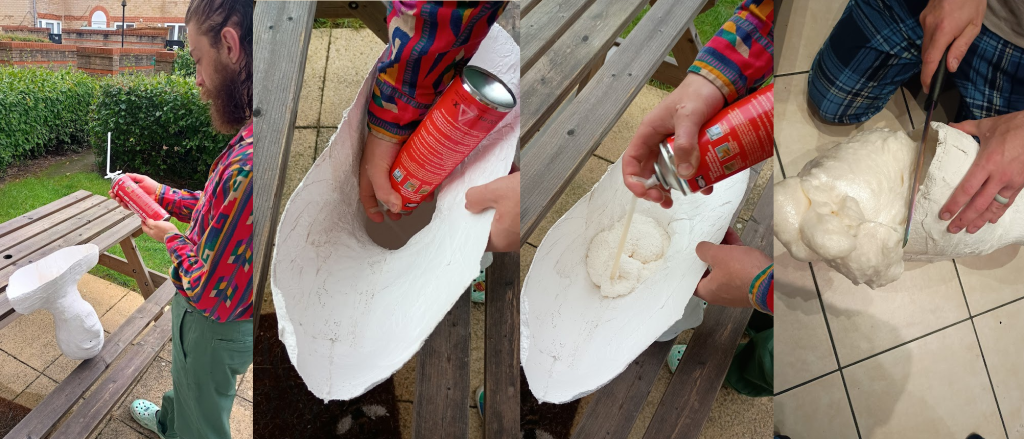
After 24h the cast should feel very solid and ready for foaming. Read the instructions of your particular spray foam/gap filler carefully to assure you’re taking the correct precautions.
Start by filling the very ‘bottom’ of the cast right at the top of the head. This is to assure the foam will not leave a pocket of air in the important parts. Then fill up the rest of the bust with foam.
Leave the now filled cast the time instructed for ‘full cure’ on your particular can. Once it’s fully cured you can remove any excess with a small saw or bread knife.
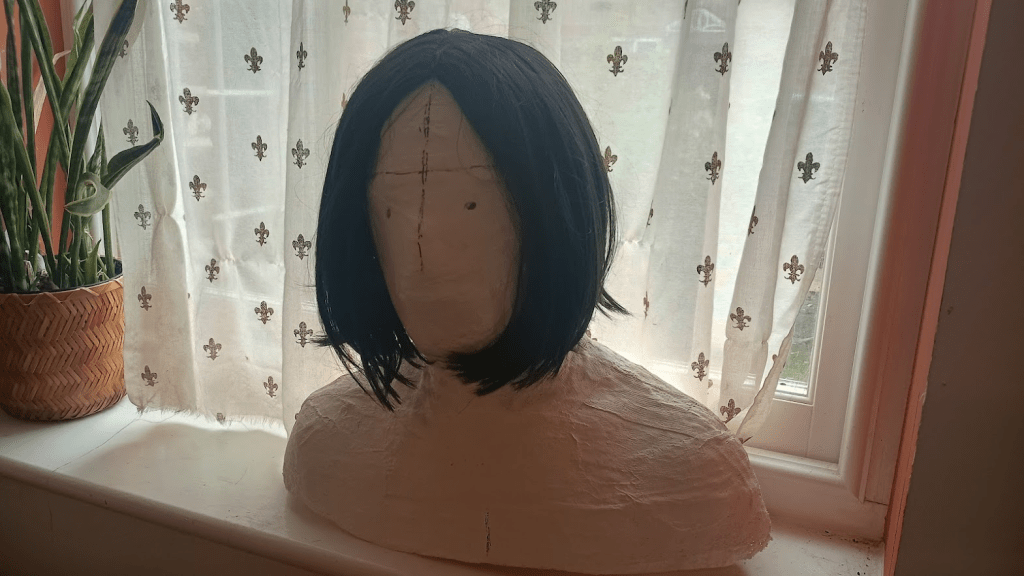
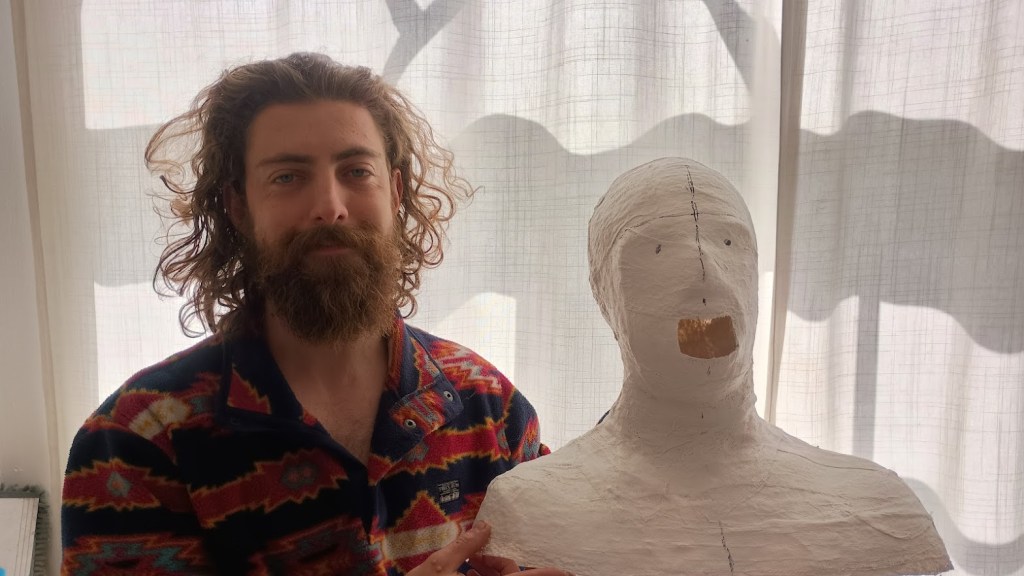
Congrats! You now have a head cast ready to send off to an armourer, or hatter or work with yourself.
The only further advise I’ll give you, is to find somewhere out-of-the-way to put this new creepy bust so it doesn’t scare you every time you spy it. Slap your favourite hat or wig on it to give it more personality, or use it as a household decoration.

Leave a comment